The Differences Between Traditional Stencils and Silk Screen Stencils
Oct 30, 2020
When it comes to deciding which type of cookie stencil to use, much of it will come down to personal preference. I want to share what I know about both types of stencils so that you will have the information you need to decide which method will work best for you. Both types of stencils will give you beautiful results but their subtle differences are important to understand.
What’s the difference between silkscreen stencils and traditional stencils?
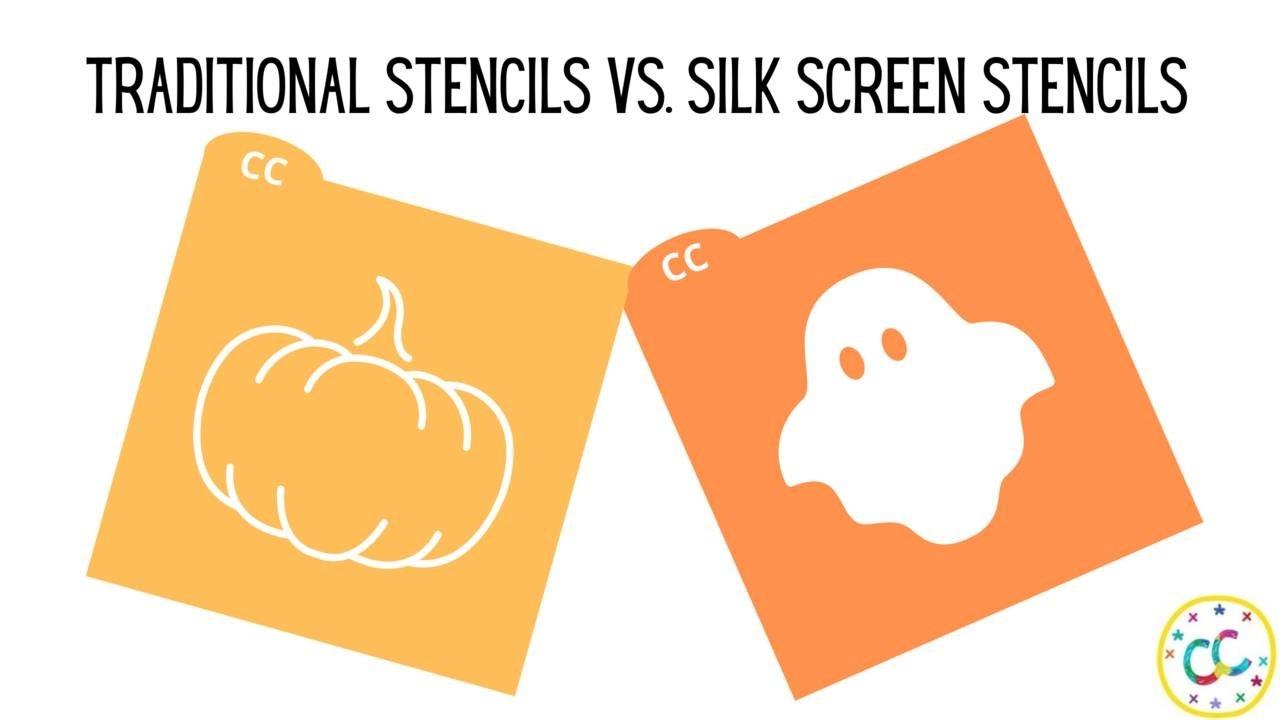
- Traditional stencils: These stencils are cut out of a plastic-type material that needs bridging to hold the stencil in place. They are sturdy, easy to use, and easy to store. Because a traditional stencil is thicker, you will use slightly more icing which gives your cookies more dimension. You can learn more about the different types of traditional stencil materials HERE.
What is a bridge?
Bridges are the little pieces of the stencil material that connect the cut design and the stencil frame. Many people ask how they know, when looking at an image, which parts need to be bridged. If an image has areas that are enclosed, you will need to add bridges. If it floats, it falls. That is why those areas need to be bridged. If bridges are not added, those enclosed areas will fall out of the stencil. If you want to keep the image in the stencil frame, you need to add bridges to it to keep it connected. Some areas may not be enclosed, but they still need bridges added so they don't flip up.

- Silk screen stencils: If you are a member of The Colorful Cookie club and follow along with the monthly themes, I always explain how to design a silk screen stencil because to make a traditional (bridged) stencil, you have to first design the image without bridges. This unbridged image is what you need for a silk screen stencil. The lines of the image are solid and have no breaks in them. These stencils are made out of heat transfer vinyl or adhesive-backed vinyl. After cutting the design on your cutting machine and weeding away the parts you don't want, you would use transfer tape to pick up your vinyl design, and the vinyl will then adhere to a piece of silkscreen. These stencils don't require bridging to keep your design in place so they are great for smaller fonts and details. They are also more flexible than traditional stencils and lay tightly onto your cookie. This is my preferred heat transfer vinyl (htv). Make sure to order the 01 Frosty Clear Glossy.
What is weeding?
Weeding is the process of removing the unwanted excess adhesive-backed vinyl or heat transfer vinyl around a cut design. The excess vinyl (or negative space) must be removed after cutting so the vinyl can be applied to the silkscreen. You “weed” away the parts that you want royal icing or airbrush color to go through. I have a super simple weeding hack that I shared in the blog that you can check out!
What consistency of royal icing works best with stencils?
A little on the thick side for a traditional stencil. Toothpaste or honey like consistency for vinyl and silk screen stencils. You will use the scraping method to apply your icing to your stencil. When using a silk screen stencil, you really need to scrape the royal icing and push it through the silk screen leaving little to no royal icing on the stencil to make sure that your whole image comes through onto the cookie. You can also airbrush with both kinds of stencils. My rule is low pressure and slow passes for a traditional stencil and low pressure and fast passes for a silk screen stencil. If you don't make fast passes over a silk screen stencil, the airbrush color will pool and leak through onto your cookie.
So that's it! Just a few subtle differences between the two types of stencils but they are important to understand. Now you will be able to choose the best option for your next cookie project!
I hope that this information helps get you started on your cookie stencil journey. Designing and cutting your own cookie stencils is so fun and rewarding! One more thing that I think is very nice to have is a membership in The Colorful Cookie Club where I teach you everything you need to know about your cutting machine and using it to create your own cookie stencils! There are already more than 400 video tutorials available to you when you join the club and more are added all the time. We also have a members only Facebook group where you can get answers to all of your stencil designing questions. And, I do a LIVE Q & A tutorial session every week! Club members also get lots of FREE digital downloads for stencils that are ready to cut, so you can get started right away! Join nearly 650 other cookiers who are in our amazing club and have fun with us! We hope to see you there soon!
*some of these items may be affiliate links... this just means we may receive a small percentage of the sale for sharing the products with our customers. But your price will be the same :0)
START CUTTING COOKIE STENCILS TODAY!
Download my Free PDF to find out what you need to start cutting cookie stencils!
Be looking for more freebies and fun tips in your inbox!
We hate SPAM. We will never sell your information, for any reason.


